Yesterday, Microsoft released the first version of the Windows 11 operating system. However, to use the first version of Windows 11, users must first join the Windows Insider program.
Microsoft provides the update for free, and if your system meets the minimum requirements to run Windows 11, you will receive the stable version of the operating system later this year.
One thing that seems to get some people stuck updating their existing PCs to Windows 11 is the TPM requirement. So what exactly is a TPM? And how do you know if your PC has a TPM to run Windows 11?
This article will discuss the TPM and let you know how to check if your PC has TPM for Windows 11. Let’s take a look.
What is TPM?
Well, TPM or (Trusted Platform Module) is a hardware chip placed on the motherboard. It is an international standard for a secure encryption processor.
In short and simple words, TPM is all about security. The chip offers hardware-level protection and is used to encrypt disks with Windows features like BitLocker Drive Encryption, Windows Hello PIN, and more.
The main function of the Trusted Platform Module is to store encrypted information on the device while ensuring a secure boot environment. In Windows 11, Microsoft has made it mandatory to have at least TPM 1.2. However, the recommended TPM requirement for running Windows 11 is TPM 2.0.
If you don’t know, TPM 2.0 was introduced in 2015, and most new machines made after that will likely come with TPM enabled.
Steps to Check if Your PC has TPM for Windows 11
Well, it is quite easy to check if your PC has TPM for Windows 11 or not. For that, you need to follow some of the simple methods shared below.
1. Check TPM using Run Command
In this method, we will use the Run dialog to verify the TPM. But first, follow some of the simple steps below to verify the TPM with the TPM management tool.
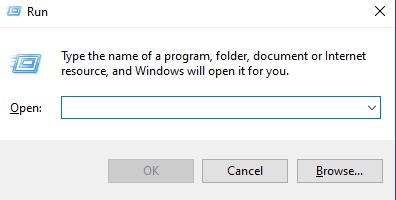
Step 1. First of all, press Windows Key + R on your keyboard. This will open the RUN dialog box.
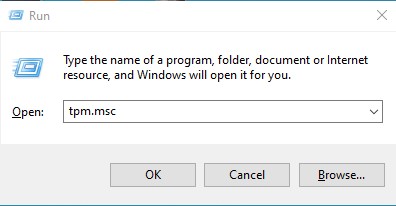
Step 2. On the RUN dialog box, enter tpm.msc and hit the Enter button.
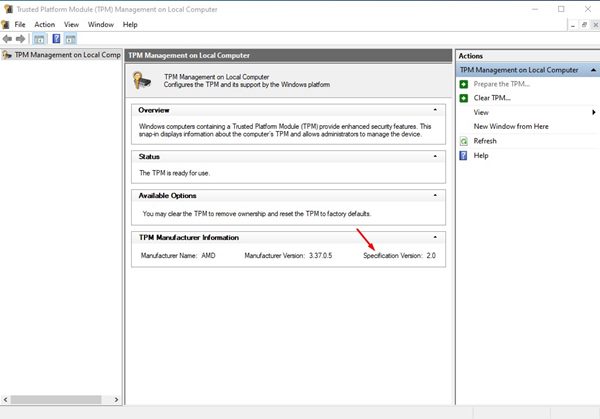
Step 3. This will open the Trusted Platform Module settings. You need to look at the Status and TPM Manufacturer information.
That’s it! This is how you can check TPM using the TPM Management Tool in Windows 10.
2. Check TPM via the Device Manager
Well, you can even use Device Manager to check if your PC has TPM for Windows 11. For that, you need to follow some of the simple steps given below.
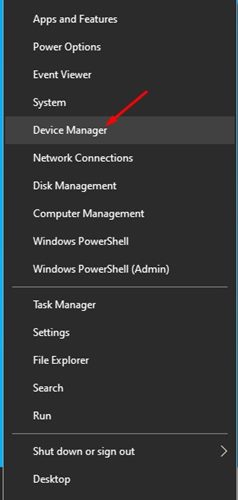
- Right-click the Start button and click “Device Manager”.
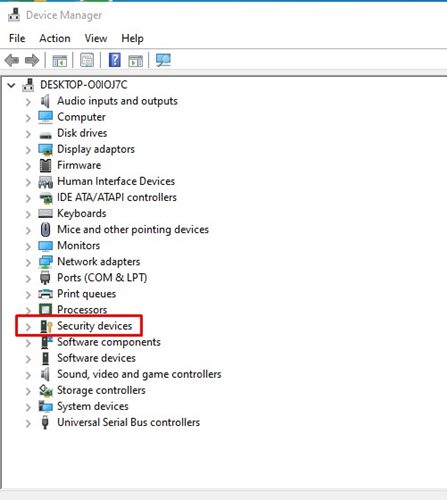
- On the Device Manager, expand the ‘Security Device’ option.
- Check whether it shows TPM entries or not. You can double-click on the TPM entries to find out more details.
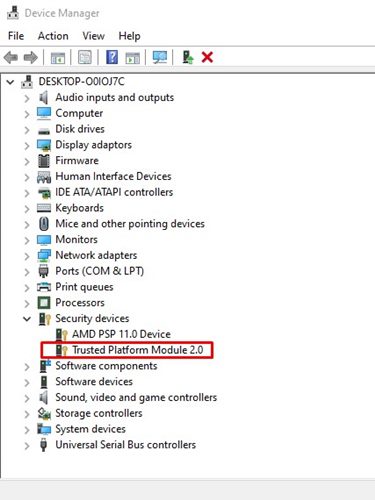
That’s! Are you ready. If Device Manager does not show any TPM entries, your PC may not have TPM or it may be disabled in BIOS.
3. Check Using PowerShell
You can rely on the Powershell utility to check whether your PC has TPM for Windows 11 or not for further confirmation. This is what to do.
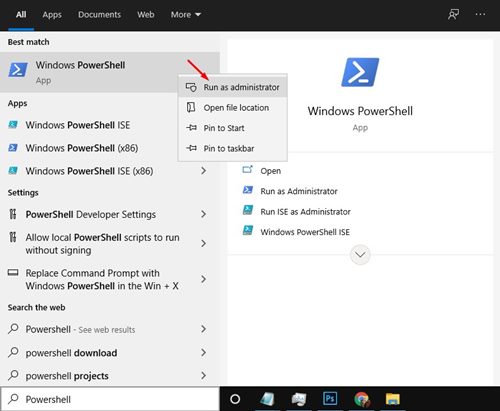
- Open Windows search and type “Powershell”.
- Right click on Powershell and select “Run as administrator”.
- On the Powershell, enter the command given below:
get-tpm
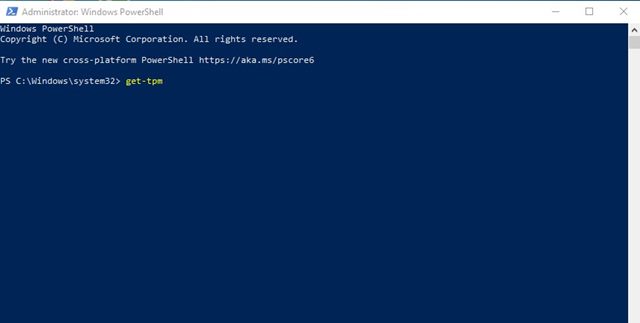
Now, if the TpmPresent returns False, your motherboard doesn’t have a TPM chip. However, if the result says:
- present: True
- TpmReady: False

You need to enable the TPM chip in your BIOS / UEFI and rerun the PC Health Check tool. After enabling the TPM, the PC Health Check will give you the green signal to run Windows 11.
That’s! Are you ready. This is how you can use PowerShell to find out if your PC has TPM for Windows 11 or not.
So this article is about checking if your PC has TPM to run Windows 11. Hope this article helped you! Share it with your friends too. If you have any questions related to this, please let us know in the comment box below.